在 Flask 中使用 url_for 创建动态 URL

通过这个解释,我们将了解 url_for() 函数的作用以及我们如何在 Flask 中创建动态 URL。我们还将学习如何在模板中使用 url_for()。
借助 Flask 中的 url_for() 函数创建动态 URL
url_for() 是 Flask 中的一个函数,它返回用于特定视图函数的 URL。使用该 URL,你可以将用户重定向到该页面或仅显示该 URL。
为了演示,我们将向你展示我们如何做到这一点。所以,让我们开始导入 Flask 以及 url_for 和 redirect。
from flask import Flask, url_for, redirect
这是我们将在本例中使用的两个函数,然后我们将在 BASE_FUNC() 视图中创建一个路由。
@app.route("/")
def BASE_FUNC():
    return "Hi there,the base index page"
现在我们将创建另一个路由,我们称之为 FIRST_FUNC,我们将返回 url_for('BASE_FUNC'),它是另一个函数的名称。url_for() 函数获取函数名称并返回我们在 url_for() 函数中传递的该函数的路由。
@app.route("/first")
def FIRST_FUNC():
    return url_for("BASE_FUNC")
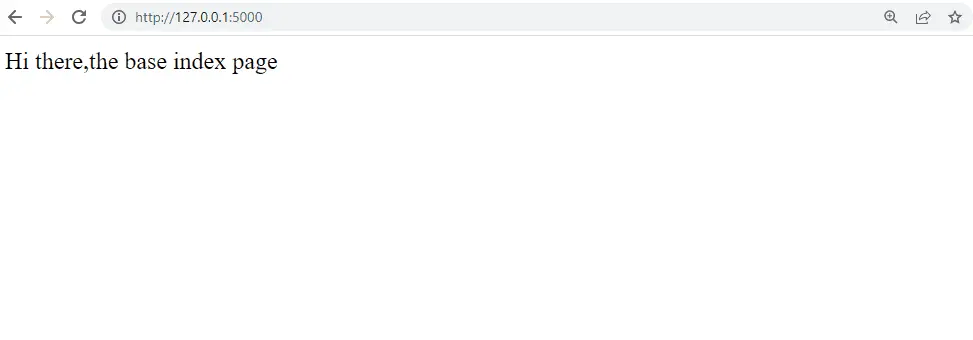
如果我们尝试访问这条路由 /first,我们将获得与 BASE_FUNC() 函数关联的 URL,这意味着我们将获得它的路由。让我们保存它并运行服务器。
如果我们输入这个端点,/first,我们只会得到一个斜杠:
让我们创建另一个路由并使用函数名称 SECOND_FUNC() 将其命名为/second,然后我们将返回 url_for('THIRD_FUNC', user_name='Harry')。在 Flask 中,路由甚至可以使用参数,因此我们需要创建另一个带有字符串参数的路由。
我们将创建一个类似 /third/<string:user_name> 的路由,并确保你在传递 url_for() 函数时在路由内使用同名的参数。现在我们将创建一个名为 THIRD_FUNC() 的新函数,并为其传递一个同名参数。
我们将返回 user_name 参数并使用 url_for() 函数从另一个函数的路由访问此函数。
@app.route("/second")
def SECOND_FUNC():
    return url_for("THIRD_FUNC", user_name="Harry")


@app.route("/third/<string:user_name>")
def THIRD_FUNC(user_name):
    return "The user name is " + user_name
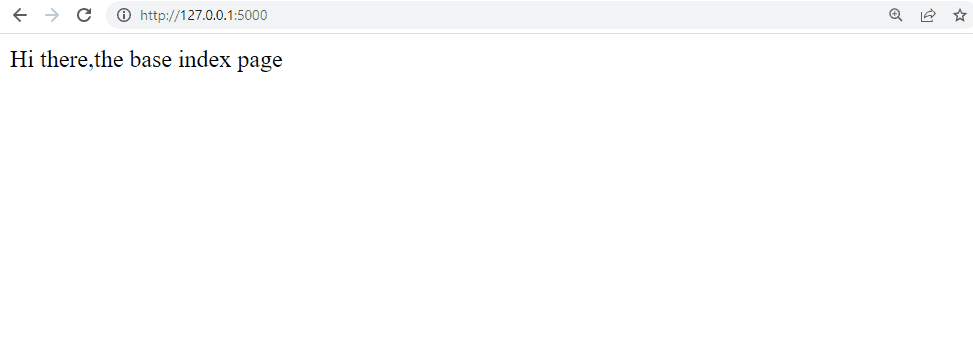
如果我们输入/second,它会给我们 THIRD_FUNC() 函数的路径:
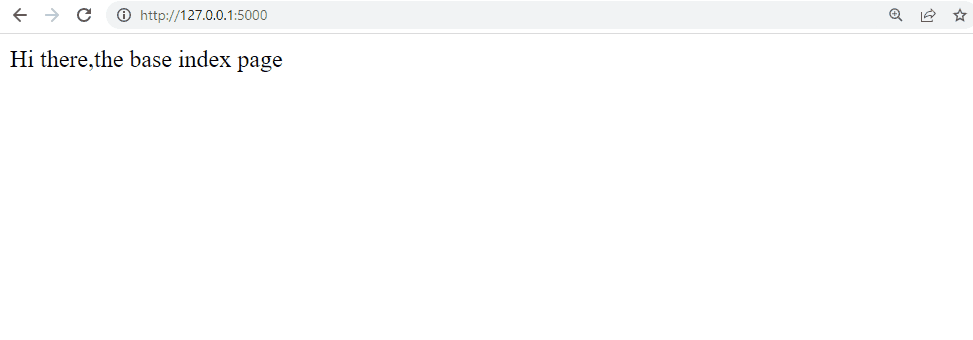
我们可以使用 URL 或链接将用户重定向到 Flask 应用程序中的特定页面,现在我们可以将用户重定向到特定的 URL,而不是只返回 URL。我们需要调用 redirect() 函数,该函数获取我们想要重定向用户的 URL。
redirect(url_for("THIRD_FUNC", user_name="Harry"))
现在,当我们调用 /second 时,它将获取 /third/<string:user_name> 路由的 URL 并将我们发送到第三个路由。
现在我们将向你展示如何使用 Jinja 模板在模板中使用 url_for();我们将导入 render_template() 并使用它来渲染一个名为 index.html 的 HTML 文件。我们将使用另一个返回字符串的路由。
@app.route("/")
def BASE_FUNC():
    return render_template("index.html")


@app.route("/page")
def Page_FUNC():
    return "Hello"
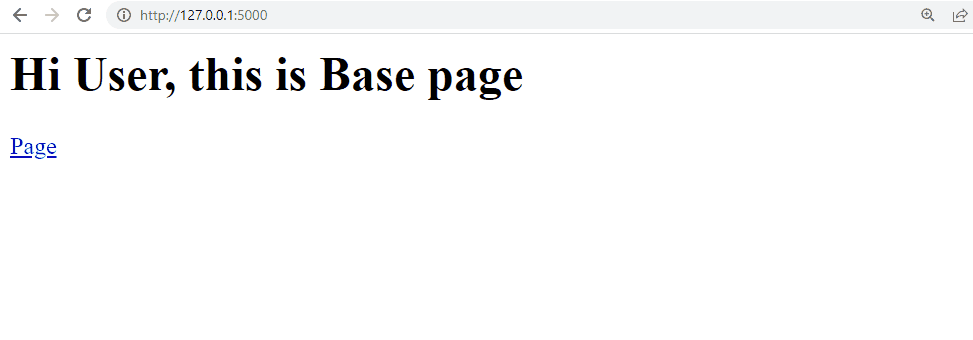
我们将在模板文件夹中创建一个 index.html 文件,然后添加一个指向 /page 路由的链接。我们将在 url_for() 中传递 Page_FUNC,而不是传递链接。
<a href="{{url_for('Page')}}">Page</a>
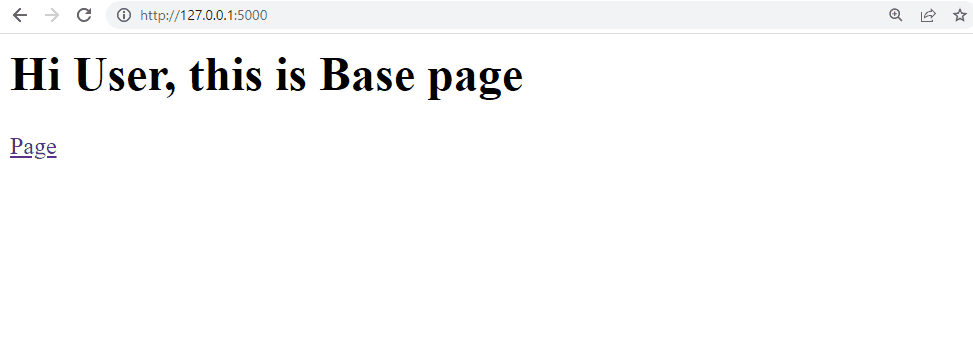
让我们保存并刷新页面:
现在我们将使它变得更复杂一些;我们将添加一个动态元素,该元素可以与作为参数的/page 一起传递。我们将在模板中使用此参数,以便第二个关键字参数可以是需要传递给该路由函数的任何参数。
在我们的例子中,user_name 将等于 Josh:
<a href="{{ url_for('Page_FUNC',user_name='Josh') }}">Page</a>
输出:
完整的 Python 源代码:
from flask import Flask, url_for, render_template

app = Flask(__name__)

# @app.route("/")
# def BASE_FUNC():
#    return "Hi there,the base index page"

# @app.route("/first")
# def FIRST_FUNC():
#    return url_for('BASE_FUNC')

# @app.route("/second")
# def SECOND_FUNC():
#    return redirect(url_for('THIRD_FUNC', user_name='Harry'))


# @app.route("/third/<string:user_name>")
# def THIRD_FUNC(user_name):
#    return "The user name is " + user_name


@app.route("/")
def BASE_FUNC():
    return render_template("index.html")


@app.route("/page/<string:user_name>")
def Page_FUNC(user_name):
    return "Hello " + user_name


if __name__ == "__main__":
    app.run(debug=True)
完整的 HTML 源代码:
<html>
    <head>
        <body>
            <h1>Hi User, this is Base page</h1>
            <a href="{{ url_for('Page_FUNC',user_name='Josh') }}">Page</a>
        </body>
    </head>
</html>
Hello! I am Salman Bin Mehmood(Baum), a software developer and I help organizations, address complex problems. My expertise lies within back-end, data science and machine learning. I am a lifelong learner, currently working on metaverse, and enrolled in a course building an AI application with python. I love solving problems and developing bug-free software for people. I write content related to python and hot Technologies.
LinkedIn