在 Angular 2 中的组件之间传递数据
- 在 Angular 2 中使用输入装饰器将数据从父组件传递到子组件
-
在 Angular 2 中使用输出和
EventEmitter将数据从子组件传递到父组件 - 在 Angular 2 中使用服务在组件之间传递数据

本文将向你展示如何在 Angular 2 中的两个组件之间传递数据。
在 Angular 2 中使用输入装饰器将数据从父组件传递到子组件
当父组件需要与其子组件通信时,使用通过 Input() 装饰器的父子组件。父组件发送数据或对子组件执行操作。
它通过使用 @Input() 装饰器通过模板提供数据来工作。这用于修改和跟踪组件的输入设置。
以下代码示例将演示如何使用 Angular 2 中的输入装饰器在两个组件之间创建这种类型的关系。
TypeScript 代码(App.component.ts):
import { Component } from '@angular/core';
import { Demo } from './Demo';
@Component({
    selector: 'my-app',
    templateUrl: './app.component.html',
    styleUrls: [ './app.component.css' ]
})
export class AppComponent  {
    DemoEx:Demo[] = [
        new Demo('First Example'),
        new Demo('SECOND Example')
    ];
}
TypeScript 代码(input.component.ts):
import { Component, OnInit, Input} from '@angular/core';
import { Demo } from '../Demo';
@Component({
    selector: 'app-demo',
    templateUrl: './input.component.html',
    styleUrls: ['./input.component.css']
})
export class inputCom implements OnInit {
    @Input() Demo: Demo;
    constructor() { }
    ngOnInit() {
    }
}
HTML 代码(app.component.html 和 input.component.html):
<main>
<section>
    <div class="card">
        <header>{{Demo.name}}</header>
    </div>
</section>
</main>
<h3>Parent to child Component Interaction in Angular</h3>
<app-demo *ngFor="let Demo of DemoEx" [Demo]="Demo"></app-demo>
点击这里查看上面代码的演示。
在 Angular 2 中使用输出和 EventEmitter 将数据从子组件传递到父组件
EventEmitter 是一个可以发出自定义事件的类。它是一个 Angular 2 组件,使你能够在 Angular 2 应用程序中使用可观察模式。
该组件提供了传统回调模式的替代方案,并通过在不再需要 observable 时取消订阅来简化触发更改检测的过程。
以下示例显示了父组件如何订阅事件并相应地更改其行为。
TypeScript 代码(parent.component.ts):
import { Component, Input, Output, EventEmitter } from '@angular/core';
@Component({
    selector: 'parent',
    template: '<button (click)="DemoEx()">Click here to go to the next component</button>',
})
export class ParentComponent  {
    @Input() name: string;
    @Output() SampleEx = new EventEmitter<string>();
    DemoEx() {
        this.SampleEx.emit(this.message)
    }
    message: string = "You are in Child Component";
}
TypeScript 代码(app.component.ts):
import { Component } from '@angular/core';
@Component({
    selector: 'my-app',
    templateUrl: './app.component.html',
    styleUrls: [ './app.component.css' ]
})
export class AppComponent  {
    name = 'Angular';
    message:string='';
    NextCom($event) {
        this.message = $event;
    }
}
HTML 代码(app.component.html):
<parent name="{{ name }}" (SampleEx)="NextCom($event)"></parent>
<br/>
<br/>
{{message}}
点击这里查看上面示例的演示。
在 Angular 2 中使用服务在组件之间传递数据
服务是实现 Injectable 接口的类。它必须具有使用 Injectable Decorator 注释的方法,并在需要时实现一个或多个接口。
在没有直接链接的组件之间传输数据时,应该使用共享服务。当数据需要一直保持同步时,RxJS 的 BehaviorSubject 就派上用场了。
我们可以将名称设置为可使用 BehaviorSubject 使用 the.next() 方法修改的可观察对象。然后我们可以使用 getValue() 函数提取最后一个值作为原始数据。
当前值保存在 BehaviorSubject 中。因此,组件将始终读取 BehaviorSubject 中的最新数据值。
请参见下面的示例。
TypeScript 代码(first.component.ts):
import { Component, OnInit } from '@angular/core';
import { SharedService } from '../demo.service';
@Component({
    selector: 'app-demo1',
    templateUrl: './first.component.html',
    styleUrls: ['./first.component.css']
})
export class FirstComponent implements OnInit {
    sharedData: string;
data: any;
    constructor(private sharedService: SharedService) { }
    ngOnInit() {
        this.sharedService.sharedData$
        .subscribe(sharedData => this.sharedData = sharedData);
    }
    updateData() {
        this.sharedService.setData(this.data);
    }
}
TypeScript 代码(second.component.ts):
import { Component, OnInit } from '@angular/core';
import { SharedService } from '../demo.service';
@Component({
    selector: 'app-demo',
    templateUrl: './second.component.html',
    styleUrls: ['./second.component.css']
})
export class SecondComponent implements OnInit {
    sharedData: string;
data: any;
    constructor(private sharedService: SharedService) { }
    ngOnInit() {
        this.sharedService.sharedData$
        .subscribe(sharedData => this.sharedData = sharedData);
    }
    updateData() {
        this.sharedService.setData(this.data);
    }
}
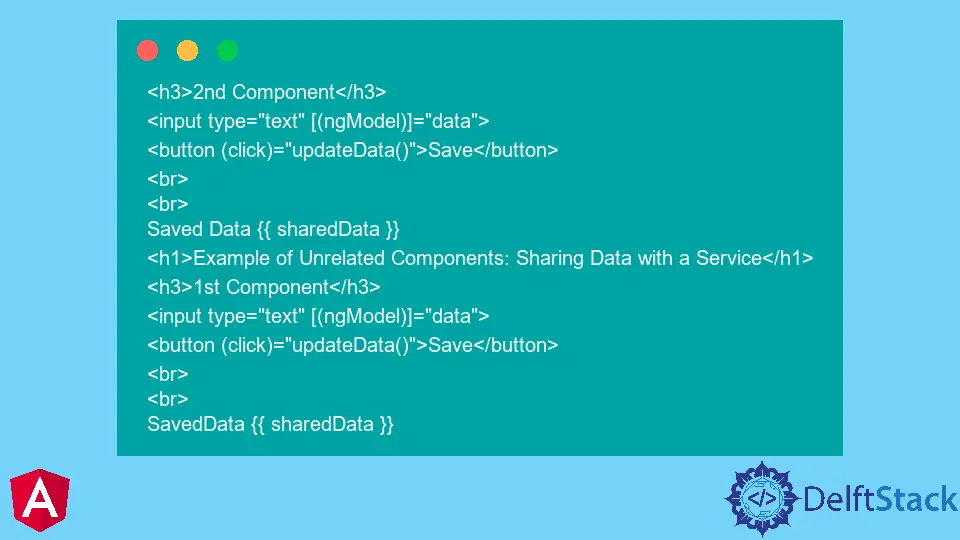
HTML 代码:
<h3>2nd Component</h3>
<input type="text" [(ngModel)]="data">
<button (click)="updateData()">Save</button>
<br>
<br>
Saved Data {{ sharedData }}
<h1>Example of Unrelated Components: Sharing Data with a Service</h1>
<h3>1st Component</h3>
<input type="text" [(ngModel)]="data">
<button (click)="updateData()">Save</button>
<br>
<br>
SavedData {{ sharedData }}
在组件之间传递数据的好处是,你可以通过将项目分解为更小的部分来更好地理解你的项目,从而让你能够集中精力,而不会被数百行代码行所累。
如果每个开发人员都在单独的组件上工作,团队也可以更有效率地运作。
点击这里查看上面示例的演示。
Muhammad Adil is a seasoned programmer and writer who has experience in various fields. He has been programming for over 5 years and have always loved the thrill of solving complex problems. He has skilled in PHP, Python, C++, Java, JavaScript, Ruby on Rails, AngularJS, ReactJS, HTML5 and CSS3. He enjoys putting his experience and knowledge into words.
Facebook