PyQt5 教程 - 基本視窗

PyQt5 基本視窗
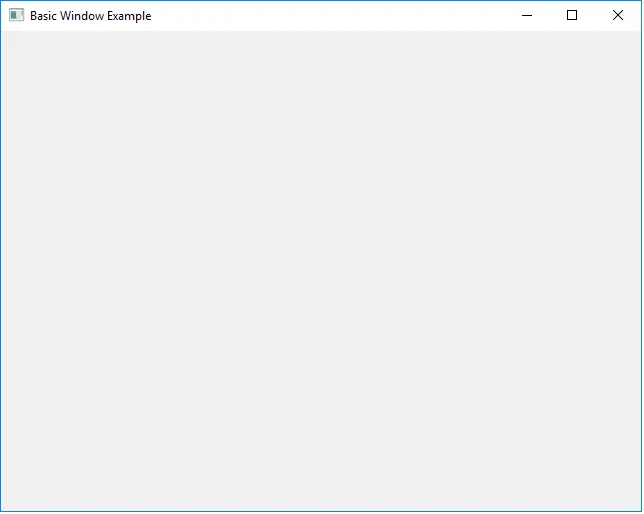
我們將在 PyQt5 中建立一個基本視窗。
import sys
from PyQt5 import QtWidgets


def basicWindow():
    app = QtWidgets.QApplication(sys.argv)
    windowExample = QtWidgets.QWidget()
    windowExample.setWindowTitle("Basic Window Example")
    windowExample.show()
    sys.exit(app.exec_())


basicWindow()
from PyQt5 import QtWidgets
它匯入了 QtWidgets 模組,以便我們可以使用圖形使用者介面。
app = QtWidgets.QApplication(sys.argv)
這建立一個可以來用事件迴圈的應用程式物件。
windowExample = QtWidgets.QWidget()
然後我們需要建立一個 QtWidget,因為我們將使用它作為我們的頂級視窗,它已經有了所需要的一切元素。
windowExample.setWindowTitle("Basic Window Example")
setWindowTitle 將為視窗設定標題,我們可以在需要時呼叫它。
windowExample.show()
這語句需要用來顯示視窗。
sys.exit(app.exec_())
我們需要使用 app.exec _() 函式啟動該事件迴圈。
如果我們不這樣做,程式將直接執行,因為它不會繼續自行執行下去。這裡的事件迴圈正在等待我們在那裡執行的事件。
basicWindow()
現在我們將把所有這些放在一個可以被呼叫來啟動視窗執行的函式中。

PyQt5 更改視窗大小
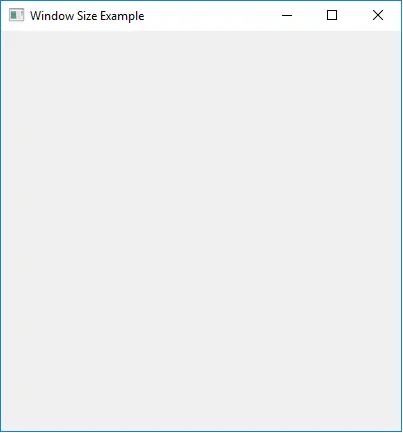
如果我們想改變視窗的大小,我們可以使用視窗控制元件的 setGeometry() 方法。
import sys
from PyQt5 import QtWidgets


def basicWindow():
    app = QtWidgets.QApplication(sys.argv)
    windowExample = QtWidgets.QWidget()
    windowExample.setGeometry(0, 0, 400, 400)
    windowExample.setWindowTitle("Basic Window Example")
    windowExample.show()
    sys.exit(app.exec_())


basicWindow()
windowExample.setGeometry(0, 0, 400, 400)
setGeometry() 方法將 4 個整數作為輸入引數
- X 座標
- Y 座標
- 框架的寬度
- 框架的高度
因此,示例視窗大小為 400 x 400 畫素。

PyQt5 新增視窗圖示
import sys
from PyQt5 import QtWidgets, QtGui


def basicWindow():
    app = QtWidgets.QApplication(sys.argv)
    windowExample = QtWidgets.QWidget()
    windowExample.setWindowTitle("Basic Window Example")
    windowExample.setWindowIcon(QtGui.QIcon("python.jpg"))
    windowExample.show()
    sys.exit(app.exec_())


basicWindow()
windowExample.setWindowIcon(QtGui.QIcon("python.jpg"))
它將視窗圖示設定為 python.jpg。setWindowIcon 方法的引數是來自 QtGui 模組的 QIcon 物件。
![]()
Founder of DelftStack.com. Jinku has worked in the robotics and automotive industries for over 8 years. He sharpened his coding skills when he needed to do the automatic testing, data collection from remote servers and report creation from the endurance test. He is from an electrical/electronics engineering background but has expanded his interest to embedded electronics, embedded programming and front-/back-end programming.
LinkedIn