Tkinter 矩形

這個演示將展示如何使用 Tkinter 中的 canvas 方法建立一個矩形。
在 Tkinter 中使用 canvas 方法建立一個基本的矩形示例
每個矩形在左上角定義為 (x1, y1),在右下角畫素區域定義為 (x2, y2)。
例如,矩形左上角(100,100)和右下角(102,102)是兩個畫素乘兩個畫素的正方形,包括畫素(101,101)但不包括(102,102)。畫布可用於建立多種形狀。
 pythonCopyfrom tkinter import *

# Initialize a window
root = Tk()
root.geometry("350x250")
# Create an instance of a canvas
_canvas = Canvas(root, height=200, width=200)
_canvas.pack()
# create rectangle
_canvas.create_rectangle(50, 50, 180, 120, outline="black", fill="blue")
root.mainloop()
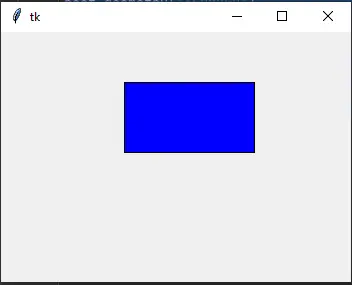
Python Tkinter Canvas 具有用於建立物件或形狀的內建方法。我們將使用 create_rectangle() 方法來建立一個矩形。
create_rectangle() 方法接受四個點 x1, y1, x2, y2。這裡 x1 和 y1 是左上角,x2 和 y2 是右下角。
Tkinter 矩形選項
dash |
此選項是整數元組。第一個數字有助於建立將要繪製的畫素。第二個數字有助於在我們再次開始繪製之前跳過將被跳過的畫素,依此類推。當元組中的所有數字都完成後,它們將被類似地重複使用,直到邊界結束。 |
 pythonCopy# create dashed border
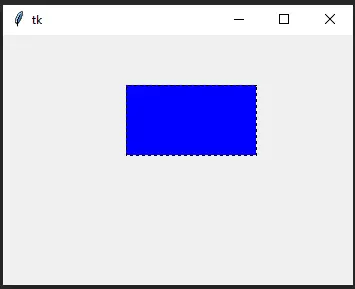
_canvas.create_rectangle(50, 50, 180, 120, outline="black", fill="blue", dash=(4, 6))
現在我們可以看到在跳過 6 個畫素後由 4 個畫素建立邊界線的位置。
state |
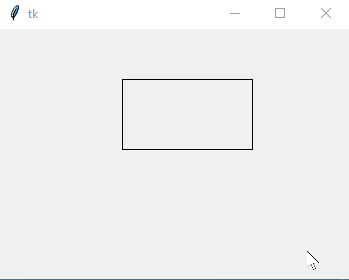
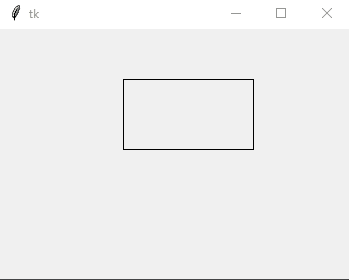
預設情況下,建立矩形時,state 選項值為 NORMAL。如果使用 activefill 選項設定條件,則當滑鼠懸停在矩形上時,這將是活動的。我們可以使用 state=DISABLED 禁用狀態。 |
pythonCopy_canvas.create_rectangle(50, 50, 180, 120, activefill="blue")
pythonCopy_canvas.create_rectangle(50, 50, 180, 120, state=DISABLED, activefill="blue")
stipple |
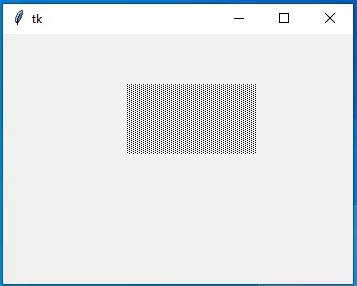
stipple 選項有助於點畫矩形。預設情況下,在 stipple = ''中,表示純色。標準值可以是 stipple = 'gray25'。除非將填充設定為特定顏色,否則它沒有效果。你可以在其中放置幾個值:'gray50'、'gray25'、'error'、'gray75'、'gray12'、'hourglass'、'info' , 'questhead', 'question', 和 'warning'。 |
 pythonCopy# Create a pattern
_canvas.create_rectangle(50, 50, 180, 120, stipple="gray25", fill="black", outline="")
我們可以使用 width 選項增加寬度。
pythonCopy_canvas.create_rectangle(10, 10, 150, 100, fill="blue", width=5)
create_rectangle() 方法中有幾個選項。
Hello! I am Salman Bin Mehmood(Baum), a software developer and I help organizations, address complex problems. My expertise lies within back-end, data science and machine learning. I am a lifelong learner, currently working on metaverse, and enrolled in a course building an AI application with python. I love solving problems and developing bug-free software for people. I write content related to python and hot Technologies.
LinkedIn