如何設定 Tkinter 文字輸入控制元件的高度和寬度
-
Entry文字輸入框控制元件中的width選項來設定寬度 -
place佈局方法中的width和height選項來設定 TkinterEntry控制元件的width和height -
pack和grid佈局方法中的ipadx和ipady選項設定 TkinterEntry文字輸入框控制元件的寬度和高度
Tkinter Entry 文字輸入框控制元件是允許使用者輸入或顯示單行文字的控制元件。因此,通常不需要設定 Entry 控制元件的高度。但是它有一些方法可以設定 Tkinter Entry 控制元件的高度和寬度。
- 在
Entry控制元件中的width選項設定寬度 place方法中的width和height選項設定 TkinterEntry控制元件的寬度和高度pack和grid方法中的ipadx和ipady選項來設定 TkinterEntry控制元件的寬度和高度。
Entry 文字輸入框控制元件中的 width 選項來設定寬度
如果僅需要指定 Entry 控制元件的寬度,則 Entry 控制元件中的 width 選項可能是最簡單的方法。
import tkinter as tk
app = tk.Tk()
app.geometry("400x200")
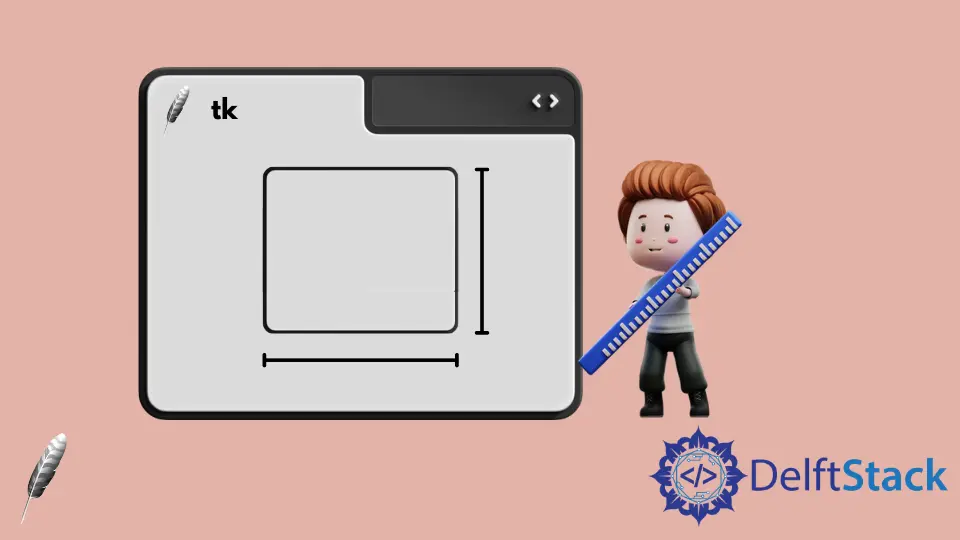
entryExample = tk.Entry(app, width=10)
entryExample.pack(side=tk.LEFT, padx=10)
app.mainloop()
Tkinter Entry 文字輸入框控制元件中的 width 選項的單位是文字單位,而不是畫素。寬度中的一個文字單位等於系統字型中 0 的寬度。這就是為什麼當 width 設定為 10 時,它在上圖中可以顯示 10 個零的原因。
place 佈局方法中的 width 和 height 選項來設定 Tkinter Entry 控制元件的 width 和 height
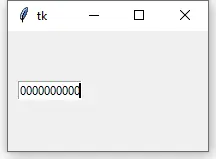
place 佈局方法中的 width 和 height 在視窗中設定控制元件的寬度和高度畫素單位。
import tkinter as tk

app = tk.Tk()
app.geometry("400x200")

entryExample = tk.Entry(app)
entryExample.place(x=10, y=10, width=200, height=100)

app.mainloop()
pack 和 grid 佈局方法中的 ipadx 和 ipady 選項設定 Tkinter Entry 文字輸入框控制元件的寬度和高度
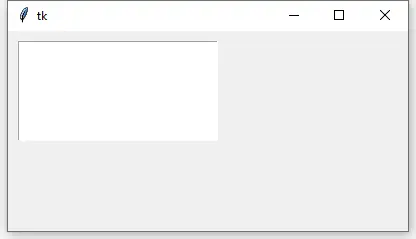
ipadx 和 ipady 在水平和垂直方向上設定內部填充。它可以間接設定 Tkinter Entry 控制元件的寬度和高度。
使用 grid 方法的 Tkinter Entry 控制元件佈局如下,

Tkinter Entry 的實際寬度是 2*ipadx + 預設 Entry 寬度,類似地,Entry 的實際寬度是 2*ipady + 預設 Entry 高度。
import tkinter as tk

app = tk.Tk()

entryExample1 = tk.Entry(app)
entryExample2 = tk.Entry(app)

entryExample1.grid(row=0, column=0, padx=10, pady=10, ipady=30)

entryExample2.grid(row=1, column=0, padx=10, pady=10, ipadx=20, ipady=30)

app.geometry("200x200")

app.mainloop()
如上所示,由於 entryExample2 的 ipadx 為 20,而 entryExample1 的 ipadx 預設為 0,因此,entryExample2 的寬度比 entryExample1 寬 40 個畫素。
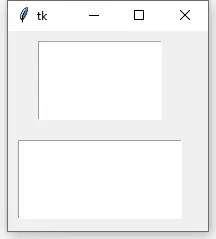
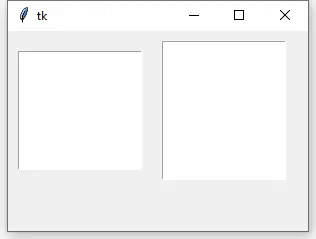
我們可以類似地設定 ipady 來更改 Tkinter Entry 控制元件的寬度。
import tkinter as tk

app = tk.Tk()

entryExample1 = tk.Entry(app)
entryExample2 = tk.Entry(app)

entryExample1.grid(row=0, column=0, padx=10, pady=10, ipady=50)

entryExample2.grid(row=0, column=1, padx=10, pady=10, ipady=60)

app.geometry("300x200")

app.mainloop()

Founder of DelftStack.com. Jinku has worked in the robotics and automotive industries for over 8 years. He sharpened his coding skills when he needed to do the automatic testing, data collection from remote servers and report creation from the endurance test. He is from an electrical/electronics engineering background but has expanded his interest to embedded electronics, embedded programming and front-/back-end programming.
LinkedIn